Office Cleaning Services Winnipeg: Preserving Your Expert Space
Wiki Article
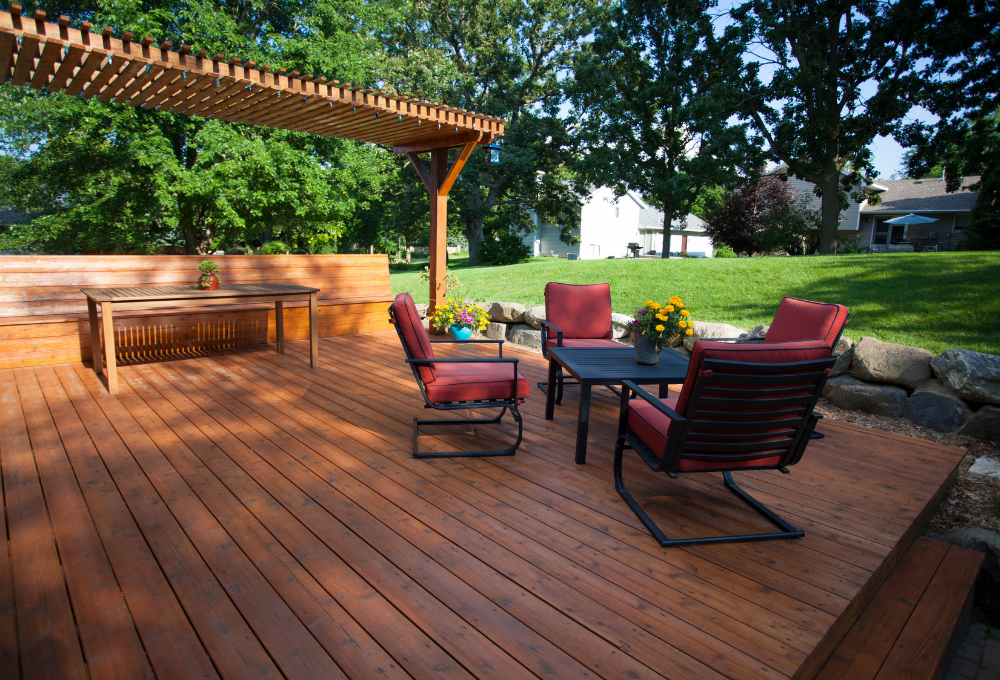
Deck Staining Made Easy: Step-by-Step Overview for DIY Fanatics
Are you a DIY fanatic looking to provide your deck a fresh brand-new appearance? In this step-by-step guide, we will walk you with the process of deck discoloration. With our easy-to-follow instructions, you'll be able to change your deck into a stunning exterior space in no time.Preparing the Deck Surface
Prior to you start tarnishing the deck, ensure you're correctly cleaning and sanding the surface. This step is important in making certain a smooth as well as long-lasting finish. Begin by eliminating any kind of furniture or plants from the deck. Brush up away any kind of loosened dirt or particles making use of a broom. Use a power washer or a tube with a high-pressure nozzle to extensively cleanse the deck. Pay close attention to locations with persistent stains or mold and mildew, and make use of a deck cleaner or a mixture of warm water and moderate cleaning agent to treat them. After cleaning, permit the deck to completely dry entirely for a minimum of 1 day.As soon as the deck is dry, it's time to sand the surface area. Grab a portable orbital sander or a fining sand block, and begin sanding the deck boards in the instructions of the timber grain.
Selecting the Right Spot
When determining on the proper discolor, you'll want to consider the type of timber you're working with. Different kinds of timber have various features that can impact just how well they absorb the discolor.In enhancement to the kind of wood, you must also think about the color you desire to accomplish. Spots come in a selection of tones, from light to dark, as well as can significantly change the look of your deck. If you're seeking to enhance the natural shade of the timber, choose a transparent or semi-transparent stain. These permit the wood grain to reveal through while including a subtle tip of shade. For an extra remarkable impact, choose a strong or opaque tarnish, which will totally cover the timber and also offer a bold, consistent color.
Finally, think concerning the level of defense you want for your deck. Stains with greater degrees of pigment have a tendency to provide better security versus UV rays and moisture. If your deck is revealed to rough weather problems, it's worth investing in a tarnish with added protective top qualities.
Cleansing as well as Fixing the Deck
Applying the Spot

Completing Touches and Upkeep Tips
After applying the last coat of discolor, it's important to consistently tidy as well as seal your deck to preserve its elegance and also protect it from the aspects. Pick a high-quality sealer that is specifically developed for decks as well as apply it according to the producer's directions. It's advised to use a new coat of sealer every 1-2 years to maintain your deck looking its best.
Final Thought

Report this wiki page